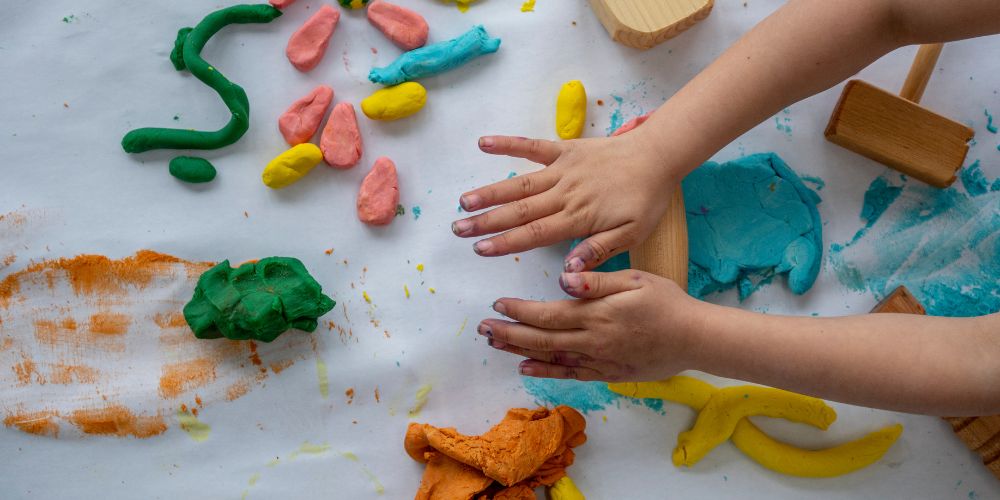
Most children love to shape animal-shaped clay to create extremely adorable creatures. Playing with clay will help your child develop fine motor skills, thinking ability and language ability to express ideas. Join us in checking out the following super easy animal models to create fun moments with your children.
Create the shape of a ladybug (ladybug)
Surely many children have seen the lovely orange beetle through cartoons. Even children in the countryside rarely have the opportunity to see this small creature. To learn more about its shape and living habits, let's start shaping clay into the shape of this animal .
Step 1: Use black modeling clay and roll into balls to form the head of the ladybug. Then roll the red clay again but with a larger shape to make the body.
Step 2: Use black modeling clay, roll it into 2 small balls, then flatten them to form eyes, then roll 2 smaller white balls to make the eyes. Can be flexibly attached to the middle or corner of the eye to make the orange beetle's eyes more vivid.
Step 3: Use a toothpick or directly use your hand to make a straight line on the body of the ladybug, forming two sides of the beetle's wings.
Step 4: How to shape animal-shaped clay will be more realistic when you add some small black beads to the body
Step 5: At the position below the eyes, gently press indented to form the mouth.

You can place the orange beetle on the desk or on the shelf, both are very beautiful
Shape a worm
Worms are not very cute creatures, many children are even afraid and do not dare to come into contact with worms. To help your child feel less afraid and explain to them that one day, rough caterpillars will transform into beautiful butterflies, let's refer to the following way to shape animal-shaped clay to guide your child. Make a funny, adorable worm.
In this method, your baby will need to use mainly green clay. First, shape the clay into 7 small circles, of which the largest circle is used to make the head. Next, attach the parts together. Roll white balls and flatten them to form deep eyes. Add a black round ball to complete the lovely eyes. You can press a small mark under the eye to form a mouth, or use pink modeling clay to form a strand long enough to form the mouth.

The worm will be less scary when made from clay
Modeling animal-shaped clay: Create the shape of a pig
Pigs, also known as pigs, are one of the most popular livestock species in agriculture. This animal is associated with many people's childhood memories and has many related songs, such as "Three ladies go to sell piglets", "Piggy bank",... You can also use a clay piggy bank to Tell your children about the story "The 3 Little Pigs", teaching them many valuable lessons about perseverance, wisdom and a sense of personal safety.
To make simple and lovely animal-shaped clay , in this method we will not divide the head and body of the pig.
-
Use pinkmodeling clay and shape it into a circle to form the body.
-
Continue using pink color, roll modeling clay on the table, form 4 cylinders to make the pig's legs and then attach to the body.
-
Create 2 flat pink circles and attach them to the top of the pig's head to create cute ears.
-
Mold 2 black circles, flatten them and attach them to the front to form the eyes.
-
Shape a straight line of the appropriate length, twist it and attach it to the butt to form a pig's tail.
-
Finally, use pink clay to form a circle, flatten slightly and pierce 2 small straight lines to form a pig's nose.
-

Creating a pig shape is extremely simple, children can do it themselves
Create a panda shape with clay
Recently, pandas have become more and more famous and have won the love of many children. Children can watch pandas in the media or in the famous cartoon Kungfu Panda. Because they love this animal that has only two colors: white and black, children really want to use clay to shape it. The following extremely easy way to make a panda will help children and parents.
5 steps to make animal shaped clay
Step 1: Mold a white circle to make the panda's head, mold 2 more black triangles and attach them on top to form the ears.
Step 2: Flatten 2 black circles, press slightly concave on the head and attach 2 circles to create the eye contour. If you want more detail, you can add black and white circles to make the eyes more vivid.
Step 3: Continue using white clay to make the panda's nose, attach the nose below the eyes, parents mold a small black triangle and attach it to the nose. This is the end of the panda's head.
Step 4: Shape 1 long black cylinder, 2 shorter black cylinders, and 1 white circle larger than the panda's head.
Step 5: Attach the long cylinder in a curved shape under the head, next the circle, and finally the 2 short cylinders on both sides below the circle to form the body.

Make a clay panda (right) based on a cute panda model
So we have discovered 5 very easy ways to shape animal-shaped clay . Playing with clay can stimulate your child's creativity and at the same time create a bridge for your child to express images of animals through the eyes of children. To ensure that children play with clay safely and without affecting their health, parents can refer to products from the Playdoh brand. Playdoh is made from benign materials, guaranteed to contain no chemicals and is not harmful to children's skin.


